Category Archives: Posts

District Champions again

Posted on by 0 comment

12144727_960287584035600_8939565512143338851_nOnce again we are District Champions in the 505. As usual, we sailed in Kullavik just outside the harbour and 6 505s showed up. As we haven’t sailed that much this year, it was especially fun to wind eventually.

The conditions were light winds and flat water and we ended up sailing a lot with the crew inside the boat. The starts was the feature that worked the best and helped us get a jump on the opposition early on in the races.

bild_dm_2015Now as we have got the whole boat well fitted out, we look forward to next season. Hopefully we will be able to fit in more of the 505 races.


Rank Class Crew SailNo Club R1 R2 R3 Total Net
1st 505 Oscar Ångervall / Johan Barne 7937 GKSS 1.0 1.0 2.0 4.0 4.0
2nd 505 Peter Andersson / Per-Eric Thörnström 8651 SSVIKEN-ÄGIR 3.0 3.0 1.0 7.0 7.0
3rd 505 Anders Dahlén / Magnus Nilsson 8666 TÄBS 2.0 4.0 4.0 10.0 10.0
4th 505 Lars Bjerke / Tore Reinhold 9038 BKSS(BJÖRLANDAKILESS) 4.0 2.0 6.0 12.0 12.0
5th 505 Malin Vångfors / Daniel Lundahl 8585 VÄSS 5.0 5.0 3.0 13.0 13.0
6th 505 Tord Lawner / Tomas Gustavsson 8837 BKSS 6.0 6.0 5.0 17.0 17.0
Category: Posts

Best in show?

Posted on by 0 comment

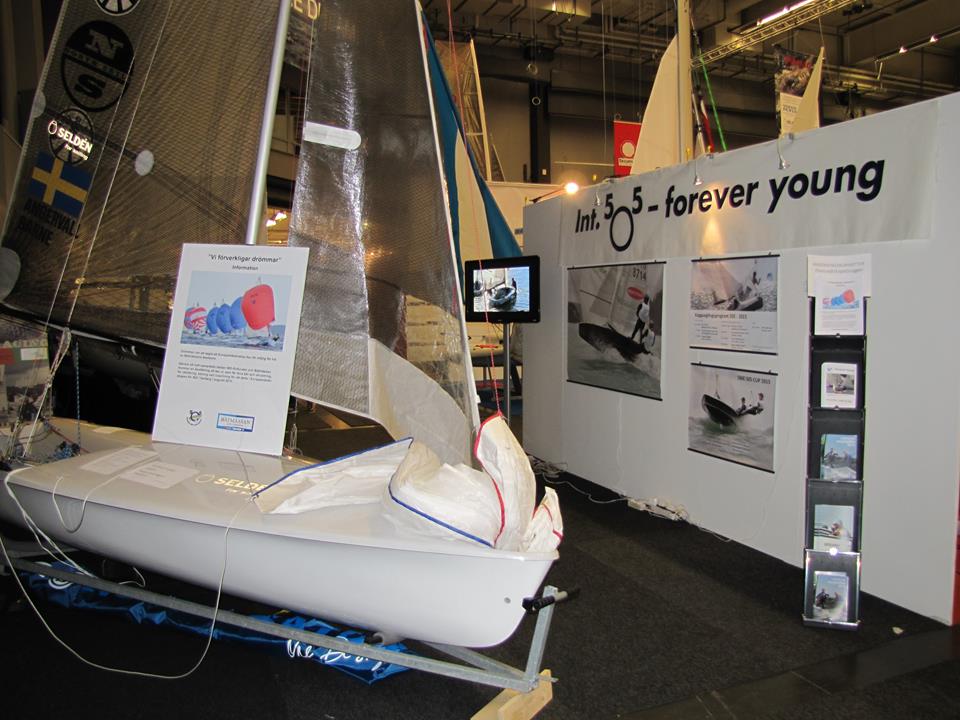
The boat show in Gothenburg is in full swing and our plays a part in it. We have had the honour of displaying our boat in the area of the Swedish 505 federation. The area is well visited as it not only have our Beautiful boat, it also has a great trapezing simulator. The mid segment of a 505 is rigged up including some controls so everyone can strap on a trapeze harness and have a go at the real thing. boatshow Since we have recieved help from well known rope manufactor Liros, we have included them among our sponsors and try to give them some exposure as with the other ones. Outside the boat show Gothenburg is covered in a few inches of snow. It feels like the sailing season is far away but we’re pretty sure we will have a great 505 season coming up!

Category: Posts

Biggest victory was to sail

Posted on by 0 comment

DMAt last it was time to sail with the new boat. After months of sporadic work on the boat and an intersive push in the last week, we got the boat finished in time for this weekend’s races in Kullavik. District Championships with 8 boats (and a Dane!).

Well, I don’t know about “finished”. When it was time for the first start, we were out there on the water with sails hoisted. However, there were several rig settings that were completely wrong and the mast rake were well to far forward. The boom pointed tot the sky as if we were sailing Snipe. We decided to scrap the first race, re-tie some rig Control lines and get the rig set up alright.

Eventually, we were able to get the rig reasonably set up and could join the fleet for the 2nd race. The boat felt great ever though we still couldn´t rake the mast as much as we would have wanted. We sailed just outside the harbour in Kullavik. Outer loop course and really shifty and tricky. In the 2 following races everything went smoothly and we won both of these races.

In the last race we once again sailed a solid race and led on the first lap. In the end of the first run I managed to rip the whole fitting for deploying the spinnacker pole off the mast. No other solution than to keep that line tight in one hand and the spinnacker sheet in the other. When rounding up it got a little bit messy and there was no comfort in that the kicking strap broke!

No shadow should fall on the great deck hardware we have got from Seldén. It has been hard to predict how everything should be dimensioned beforehand and in some cases I sure have been a little bit too optimistic. Additional to that some systems were temporary and such stuff usually become weak by design.

Well, after some considering we decided to continue as we were. We lost the lead to Söderström/Calvert but after some breaks with our tactics we regain a narrow lead at the last top mark. To add to the joy, we were able to pick up a nice puff and extend further. This in spite of the fact that my hands were full by control lines and having Oscar hanging in the boom now when we did not have a vang.

…so we managed to hold on to the lead and subsequently win the District Championships with the series DNC-1-1-1.

However, the greatest victory was to eventually get the boat ship-shape and on the water. The stuff that broke (by my design) aside, the other systems worked great. To have a boom and spin poles in carbon fibre felt really exclusive and the smart deployment system with one single line to deploy the pole and spinnacker guy worked really well. All this stuff came from Seldén Mast who have helped us in a great way.

We also got a chance to try our new North Sails. The main in 3DL looks so great so it makes our eyes water. Incredible that they have been able to get such a nice shape into such a small sail.

Now we only have to fix the problems we discovered by sailing in real!

Category: Posts

Mr 505 in USA or heaven on earth

Posted on by 0 comment

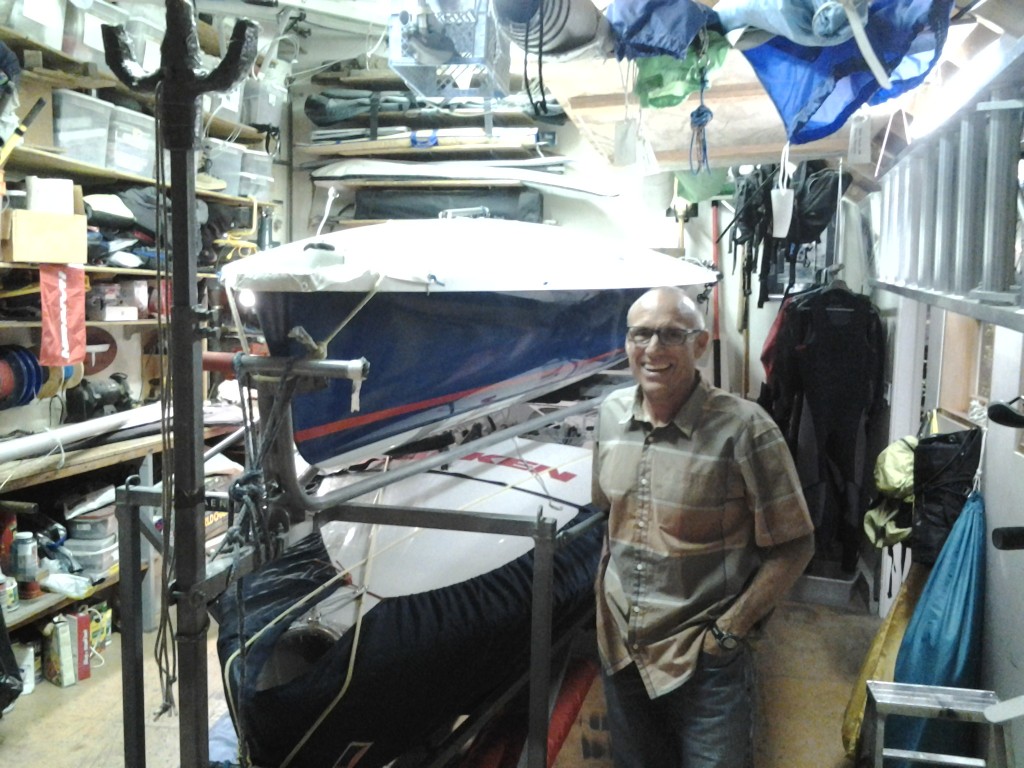
What is heaven on earth? Well, if you ask a dinghy sailor (especially a 505 sailor), he or she would probably agree with me that Howard Hamlin’s garage comes pretty close. He has every imaginable gadget that could be used on a 505 or when sailing a 505 cramped in just a normal garage and the whole building clearly produces that nice candy store feeling.

Mister 505I had the opportunity to visit Howard in late April as he lives there and I was there sailing the Congressonal Cup matchracing event. I have actually visited him on a similar occation two years ago buying some practice sails for my old 505. I was equally impressed then but knew there are always new things and ideas to pick up. Since I was and am in the process of fitting my new 505 out, it would be a to good of an opportunity to pass checking his 505s out and tap his brain on different boat systems.

Yes, he actually has two 505s! Of course it makes sense having one boat for practice and one for racing. Everyone should have it this way! Actually, I understood he used his Waterat for practice and a Rondar for racing. There were quite similar but not identical, which makes sense having the possibility of continuisly develop and test new ideas before committing to them.

The thing on the boat(-s) that struck me most were how many of the controls that were singleended, sitting on the centerboard case top. Howard actually did not have one single double-ended controls with one on each side of the boat. It certainly seems like he emphasize having not to many controls stopping him from moving around in the boat but still have most of the possible controls available.

He was having a mainsheet with an aft braidle system, something that I plan to implement as well. One big advantage is that there are no lines between the centerboard case and the side tanks. It enables the helm to move forward without having to lift his/her legs over the traveller or forward braidle. The disadvantage would be that one have to rig some new controls on the braidle splice parts in order to lift the boom up to or above the centerline of the boat.

A positive side effect of having an aft braidle is also that the bending load decreases on the boom resulting in either a lighter boom or a higher safety factor. He probably has gone in circles on most things on the boat and seems to have returned to a more simple layout.

One good compromise he has implemented (and that I am planning to do as well) was to use a simple pinstop track for the shrouds. You get rid of a lot of control lines and still get the opportunity to control the overall mast bend. Even though you can not control it underway, he assured that he has not noticed a great difference and has not really missed the possibility to adjust it during sailing. In consistent strong or light breeze this still gives you the possibility to have a static position forward or back of the normal position. Also, since the pinstop fix the shroud position, one can still use a normal adjustable shroud with the control line going in and down to the centerboard trunk.

The shroud tracks also makes rigging and unrigging a lot easer. That is actually something that seems important to Howard. He does not like to have the boat in the strong Californian sun and probably likes to have the boat at easy reach anyway. Therefore he always takes it home on its trailer. To make that easier, he has loops at the ends imporant lines from the mast where he tie a pilot line to pull the mast out without having to re-run all lines when stepping the mast next time around.

Category: Posts

Wedging

Posted on by 0 comment

Fitting the new boat out goes forward. It takes a lot of time and thinking to get everything right, even though I have passed the initial hesitation to drill in the shiny new boat. Mainly it is just about puttings blocks and cam cleats at the right place. However, at times you need something to wedge the fittings to get the to properly line up.

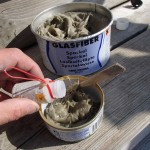
A long time ago I learned a quick and still good way of doing wedges. In principle you take a blob of glassfibre putty and let it cure wedged in between the fitting and the boat Mixing the glassfibre bog
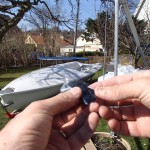
In order not to have it stick to either of the two sides, one only tape it up with some packing tape – a tape that is very thin and releases the wedge once cured. …so just tape both the boat and the fitting (usually a block). Tape the block Tape on boat
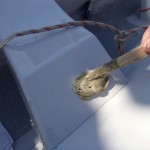
Once that is in place, mix the putty and apply it to the right place. Line the fitting up and if it is a block, it usually is simpler by running a rope through it to whatever it is supposed to be connected to. Apply bog on boat Apply block
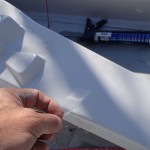
Once it is cured, just take the wedge off. Even though it is cured, it is quite easy to file and sand down to its final dimensions and the print of the fitting makes it easy to see what the overall dimensions should be. Unfinished wedge
Be careful when getting closer to its final shape as it is far from optimal ending up with an undersized wedge. It is far better and prettier having a wedge that is a little bit too bit than the other way around. Finished shape
The final touch is to paint the whole thing with gelcoat or gelcoat putty. Not only becomes the wedge pretty much a part of the hull, it also makes the somewhat porous surface and bit more resistent. Good luck with the wedging! Gelcoating the wedge


Category: Posts

Lining it up

Posted on by 0 comment

Did you ever considering that everything isn’t lined up straight on your boat?

I have heard a lof ot horror stories about maststeps well out of column, masts that are impossible to tune just becauce the shroud fittings is asymmetric or rudders that are not parallell to the centerboard.
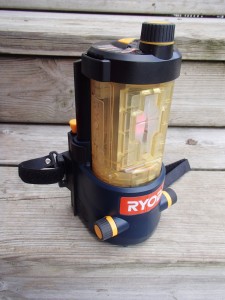
OLYMPUS DIGITAL CAMERAGetting inspiration from our professional America’s Cup boat builders in Victory Challenge, I thought I would make a serious effort in lining it all up and bought a laser. Expensive? Not at all! I got one at Home Depot for around 30€, usually being used for putting tiles in your bathroom. The best thing was it had a crosshair beam giving a perfectly horizontal and vertical line.

One thing is clear though; It is very hard to have a boat that is perfectly Square everywhere. The key thing must be to have the important Points lined up. Things like rudder/centerboard, mast step, mastcolumn, forestay and shroud fittings.

OK, what is it on the boat that I can not really do anything about? Since I am starting with a bare hull, the main component was the centerboard case. I started by putting the centerboard upside down in the centerboard case, fiddled around with different wooden chocks under each rail and used my laser to make sure the centerboard aft edge was vertical.

Perfect, since the laser horizontal beam would Always be level, I could now Move it around and check the other important Points. Taking the centerboard out, I could now check that the hole for the mast at deck level was vertically above the mast step. …or actually the other way around as it would be a lot easier to put the step a bit off axis to make it lining up. Fortunately, mine was straight but the whole exersise will give me a peace of mind and help me go straight to the right things if the mast isn’t straight when starting tuning it.
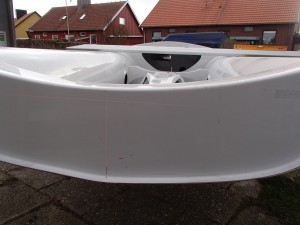
OLYMPUS DIGITAL CAMERAAs I had the boat lined up, I marked up the vertical line for the rudder fittings and fitted the bottom one. However, I will wait and mount the top one when I have both the centerboard and rudder on its fittings in its place.

Next thing was to make sure that the rudder, centerboard, mast and forestay was on one line. Now I put the boat on its transom With the bow sticking straight up the air. Now my neighbors really started looking suspicously across the fence, especially as I did all this completely on my own.

Again I used the laser lining the rudder/centerboard intersection up with the vertical beam. I frankly don’t know what I would have done if it wasn’t straight but luckily the unalignment where within a millimeter or two. As I now had it like this I could use the horizontal beam to mark out where the shrould fitting would go.

Finally, I measured from the centerline out to where the shroud fittings would go just to make sure that the mast is absolutely in the middle between the shrouds.

I am sure there are a lot of ways of doing this but this procedure worked well for me. It was very valuable to have a laser with a crosshair vertical and horizontal beam.

Good luck with lining your boat up. …’cause you don’t want to be out of line?

Category: Posts

Fighting hard for 1450 mm

Posted on by 0 comment

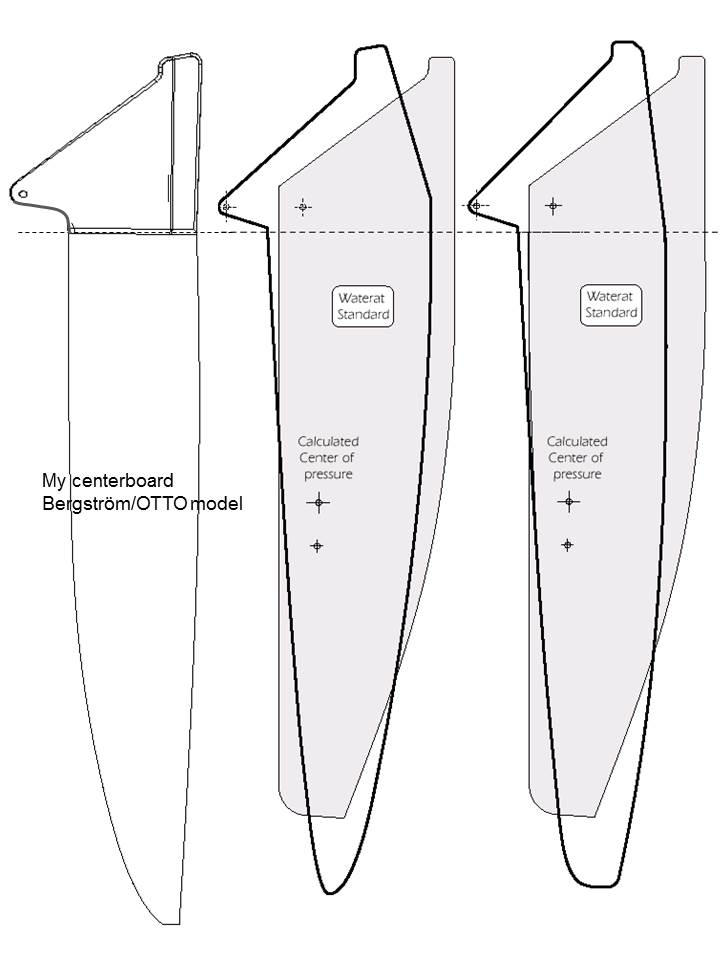
Spending most of the day on my self-made centerboard. Centerboard comparisonWith a lot of help from my friend Karl-Otto Strömberg, I made the two centeboard and rudder halfs using the (beuitifully simple) infusion technique. After gluing them together with exoxy/microbaloon bog (thanks dad for the second pair of hands!).

The end result is really great! Imagen having made your own centerboard! (OK, OK, with helpful and skilled assistance). The mould is not perfect, so I spend an hour or two longboarding it. The centerboard is REALLY high aspect so the cord length is increadible short – this means that the longboarding is actually more like shortboarding. After getting almost there, I leave some room for future therapeutic pre-regatta centerboard sanding.

Now comes the next challenge – getting the centerboard into the case! The 505 class rule says:

The centreboard shall fit within the centreboard case not extending below the bottom of the hull when fully raised. The trailing edge may project above the centreboard case top when in the raised or partly raised position. No part of the leading edge which is more than 300mm from the tip and is capable of protruding below the hull shall be capable of being raised more than 200mm above the bottom of the hull. No part of the centreboard shall be capable of protruding more than 1450mm below the hull.

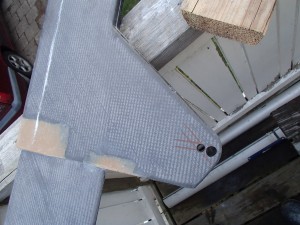
Moving the pin holeAt the same time, the centerboard case is limited by rules as well. When I try, the centerboard does not fit. Fully lowered, it extents 1450 millimeters exactly which is beautiful. Obviously, I want the centerboard as long as possible. …but when trying to raise it, it is almost 3 centimeters too long. Putting all the rules together, it is like putting my 10½ foot into my son’s 7½ sneakers!

I spend most of the afternoon, trying to make it all fit together. There are some tricks to be used: The Rondar boat has a system to raise the centerboard pin. By raiing the pin when raising the board, the centerboard is still 2 centimeters too long. By putting the pin hole as far into the centerboard without the edges hitting the case walls, I am able to get one centimeter more.

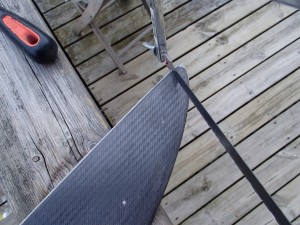
The agonizing momentAfter some more agonized moments, I realize I will never get the centerboard into the case. I almost cry when I put the hacksaw into the board and chop 1 (!) centimeter off the end. However, after I round the end up and make it pretty, the end result look pretty damn good anyway. Now the board fits like a pair of legs into a well used Levis. There are a few millimeters between the tip and the end of the case when I raise it and when I have it all the way down, it extends 1440 millimeters from the hull.

How long is your centerboard?

Category: Posts

Welcome

Posted on by 2 comments

Welcome to our blog! Our plan is to post not only our 505 sailing adventures but also anecdotes and technical issues in our 505 campaign. Keep posted!

Category: Posts